Deploying React Application using Nginx and Digital Ocean - 27/03/2023
Starting from scratch, we will deploy your React Application using Nginx and Digital Ocean
Deploying React Application using Nginx + Digital Ocean
Anyone can now easily deploy web applications with the modern tooling developers have provided us. This includes create-react-app build command.
This build command will generate files we require to be able to deploy our React application in a public server using Nginx.
In this tutorial, you will be creating a React application and deploying it to a server for public access. You will be using Nginx as a web server to serve the static files that were generated by the build command.
By the end of this tutorial, you will be able to show React application to your friends, teachers, classmates, colleagues and the public.
Prerequisites
There are no prerequisites for this tutorial.
You will be going along as we set up everything from scratch.
Creating your React Application Project
Note: If you already have a React Application ready, you can skip this step.
Firstly, You have to create a React application using the create-react-app tool. This will provide you with the boilerplate that we will deploy on the server. You will run this command to start your project.
$ npx create-react-app my-react-app
npx is just a NodeJS helper to execute a Node package without installing it on your local project or machine.
Success! Created react-deploy at /Users/dave/Desktop/react-deploy
Inside that directory, you can run several commands:

  npm start
    Starts the development server.

  npm run build
    Bundles the app into static files for production.

  npm test
    Starts the test runner.

  npm run eject
    Removes this tool and copies build dependencies, configuration files
    and scripts into the app directory. If you do this, you can’t go back!

We suggest that you begin by typing:

  cd react-deploy
  npm start

Happy hacking!
Building your project
Now that you have your React application ready, you can now start building it.
You will need to run the following code to build the project and generate the static files that we would need for deployment.
This command will run the production build which packages all your files into a build folder.
$ npm run build
You should see an output similar to this below
Creating an optimized production build...
Compiled successfully.
File sizes after gzip:
46.61 kB build/static/js/main.3d10be90.js
1.78 kB build/static/js/787.d6cb1aba.chunk.js
541 B build/static/css/main.073c9b0a.css
The project was built assuming it is hosted at /.
You can control this with the homepage field in your package.json.
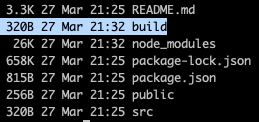
The build folder is ready to be deployed.
You may serve it with a static server:
npm install -g serve
serve -s build
Find out more about deployment here:
https://cra.link/deployment
This build folder is what we call a production build. This folder contains all the html, css, javascript and asset files. We will put this folder on the webserver once we set it up on the next steps.
Your project root folder should now contain the build folder
Digital Ocean Account
Now that you have a React application that was built. We can now proceed with setting up our server using Digital Ocean.
You can use any Virtual Private Server (VPS) provider for this tutorial but I recommend Digital Ocean as I have been using it as my server and experimental projects for years now.
If you want to use it, sign up using my referral link. You will get $200 of free credits to use over 60 days and I will also get a 25$ credit.
Once registered, you are now ready to create your first Droplet.
Creating a Droplet
A droplet is the same as VPS. It is just the term they use on the Digital Ocean platform. We will create a VPS in this section.
Think of VPS as a computer that you are renting over the internet (cloud computing). Gone are the days when you need to set up a physical computer to be your server. With just a few clicks we now have a computer that we could use.
On your homepage, you’ll see this screen.
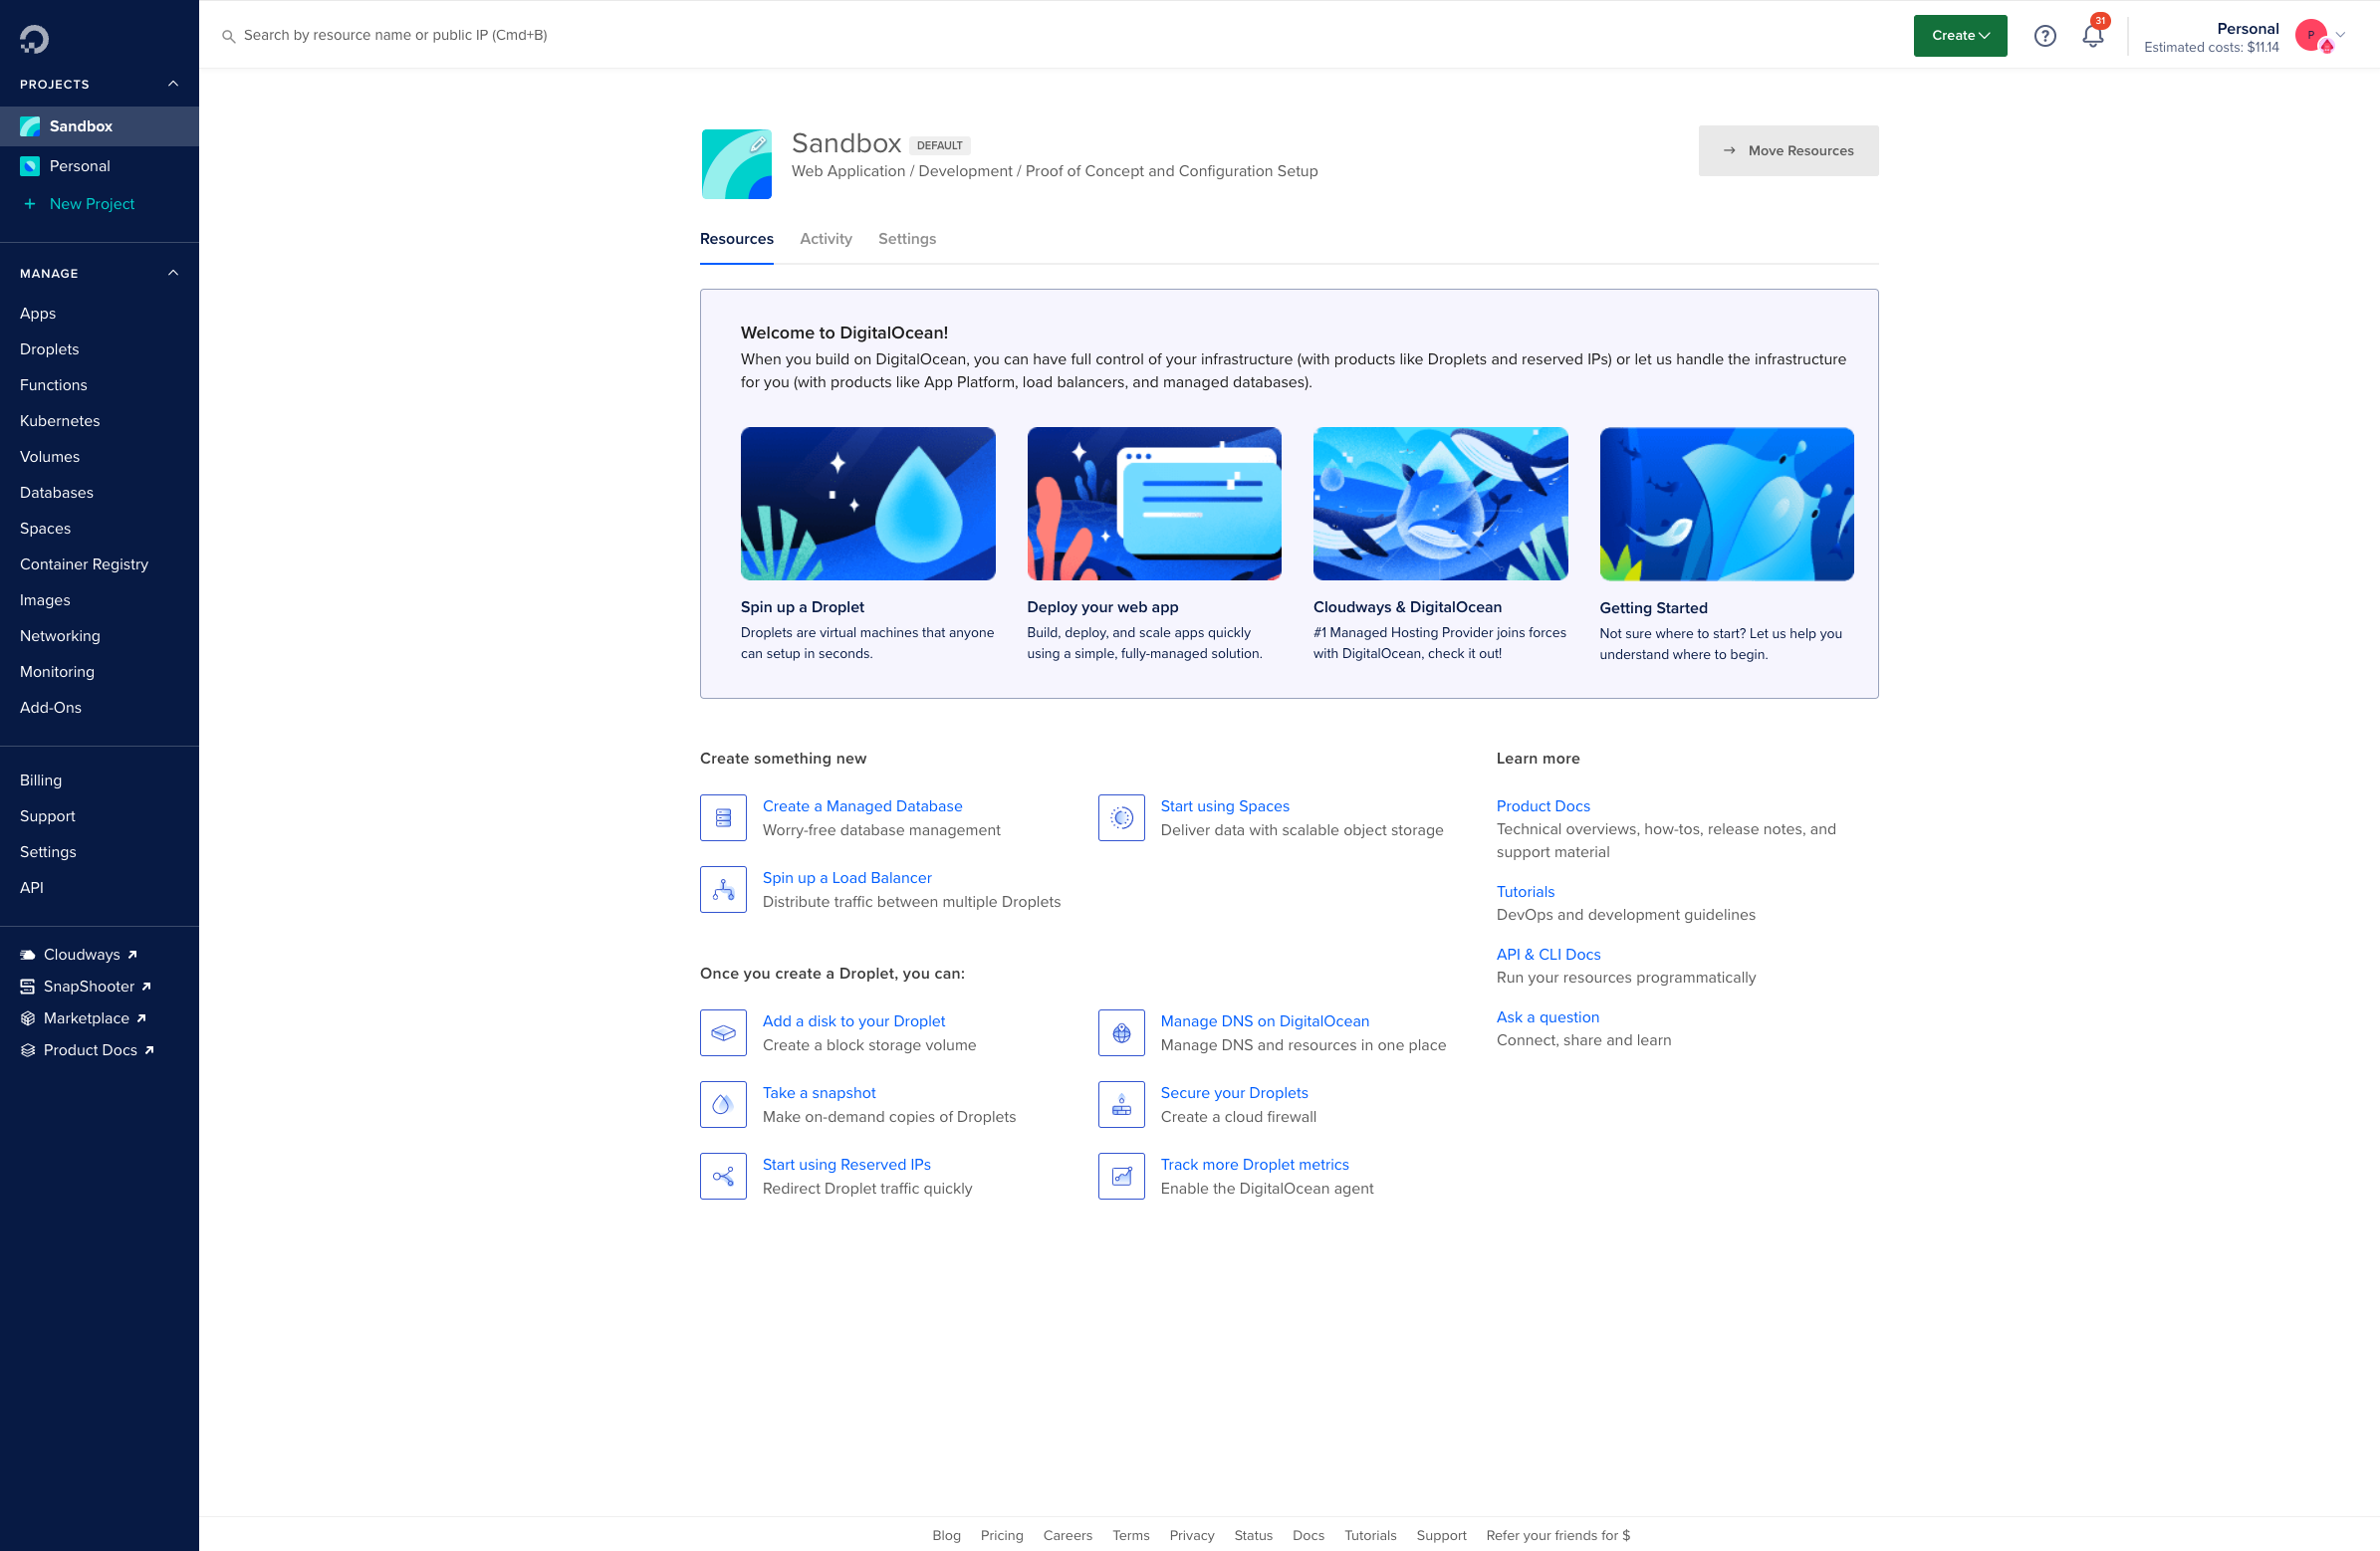
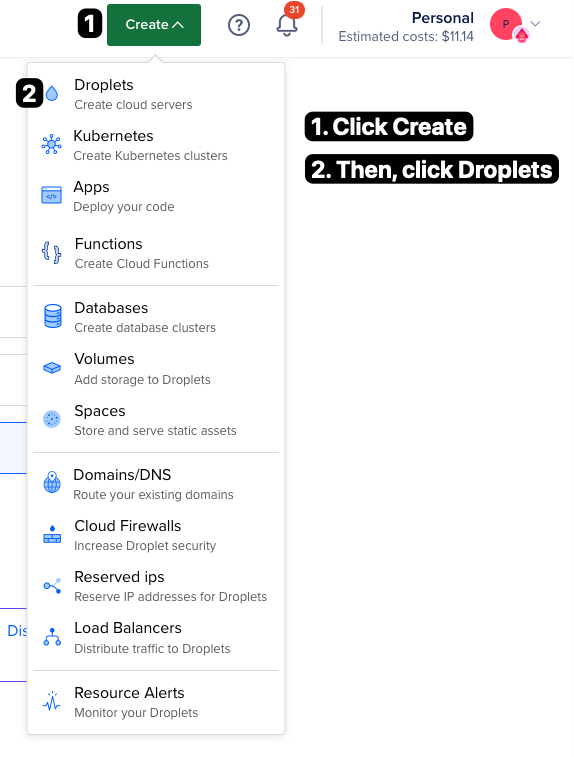
Follow the steps to get to the Droplet create screen.
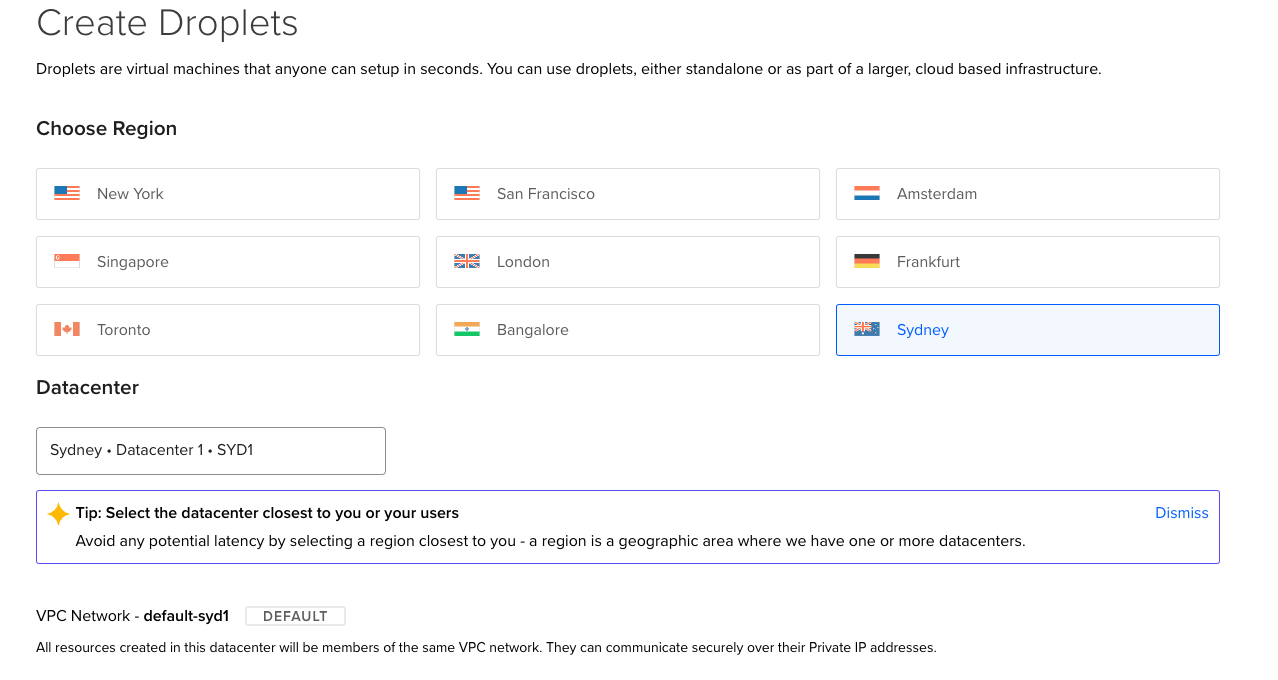
Choose the Region nearest to you. The recommendation is to select the region where the users are most likely to access it to reduce latency and improve response time.
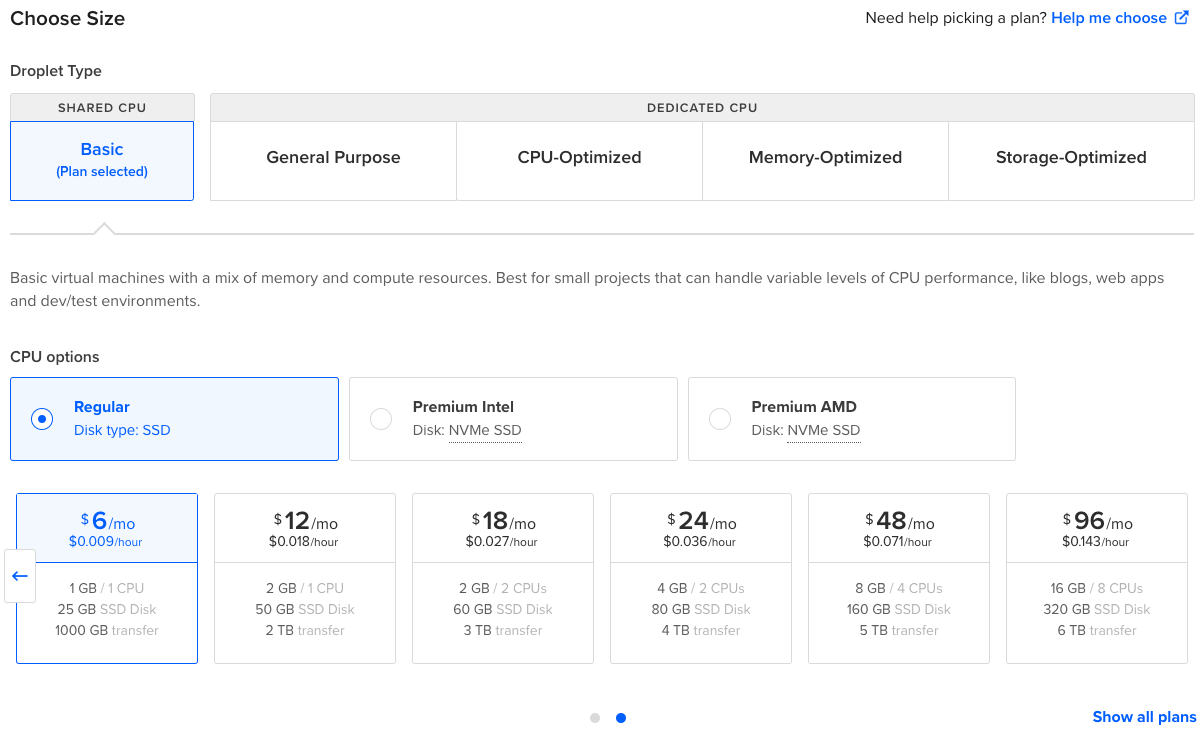
The next one is to select the size of the Droplet. Remember that a droplet is still a machine and the machine has resource allocation. The bigger the allocation the more expensive it is.
For this demo, we will only use the Basic option and the cheapest one which is 6 USD per month.
Now we have secured our VPS. The way we communicate with this machine is through the use of SSH Protocol if you want to read more about it, head over to this link - SSH Academy.
For the sake of this demo, we will only be using password authentication as it makes things easier but takes note that this is only for demo purposes as our goal is to learn deployment only.
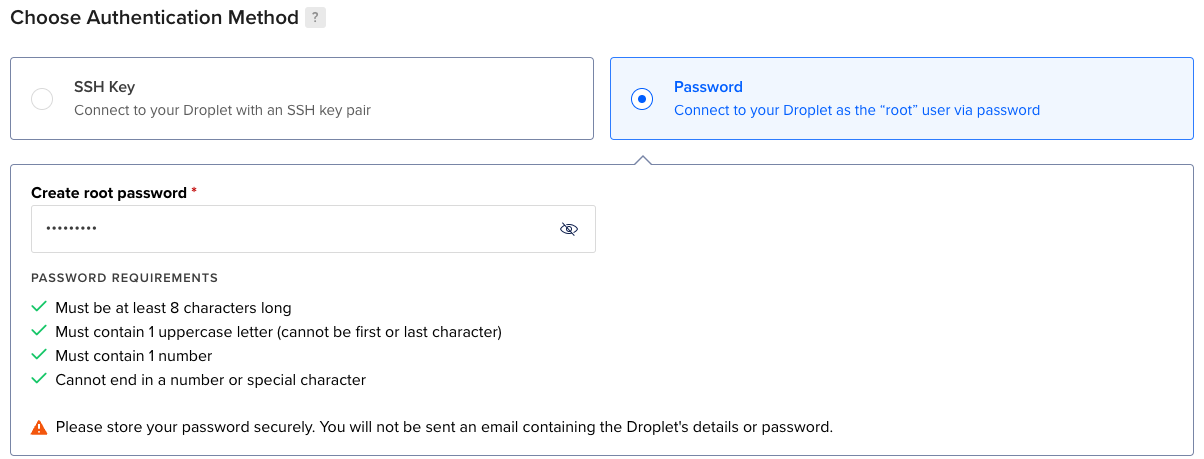
The general recommendation is to use SSH public and private keys to a more secure server.
Next, we just set the hostname of our droplet

And finalise creation by clicking Create Droplet.
You now have successfully created your own VPS. You will be redirected to a dashboard that shows you that the droplet is being created. Wait for it to be finished and we will now connect to it.

Installing Nginx to the Droplet
Now that you have your own VPS, you will now install Nginx.
What is NGINX?
To do this, we have to get the IPV4 address of the machine as seen on the console.

For Linux/Mac users, open your terminal and run the following command.
$ ssh -o PubkeyAuthentication=no root@<IPV4_ADDRESS>
As you can see, we disabled PubkeyAuthentication and as I reiterate this password-only approach is only for learning purposes. Do not do this on a production server. You should use an SSH public and private key for authenticating SSH connections.
For Windows users, you can use Putty to connect to the machine.
You will be prompted for the password that you set a while ago, and you will be able to see this screen.

Run the following command. This makes sure that the machine is up to date.
$ sudo apt-get update
Once finished, we can now install Nginx using the following command
$ sudo apt-get install nginx
When prompted to install, just type Y to confirm and press Enter. This will install Nginx and its required dependencies. After the installation, Nginx will automatically launch in the background.
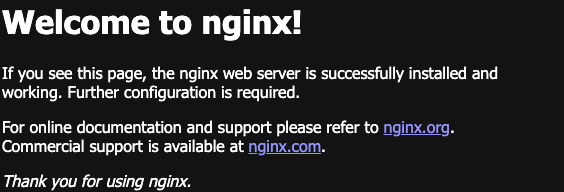
Access your IPV4 address using your browser and you should be able to see that Nginx is running.
Copying the Build folder to the Droplet
You now have a React application, and a server with Nginx installed.
You can now copy your React application’s build folder from before to the Droplet that we created. To do this we will make use of the command scp. It is a copy command that uses SSH to transfer files from a source and destination location. As an example, your local is the source and you are going to copy it to the droplet, the destination.
Make sure that you are on your local project root folder. Exit from SSH if necessary or just create a new tab from your terminal.
$ cd <PROJECT_FOLDER>/
$ scp -r -o PubkeyAuthentication=no build/* root@<IPV4_ADDRESS>:/var/www/html
The scp command works like below. -r means recursive, getting all folders and files within the folder.
scp -r <source_file_path> <destination_file_path>
As you can see, we are only copying the contents of the build folder to our /var/www/html in your VPS. This is the default folder where Nginx serves the files. Anything that is in the /var/www/html will be served by Nginx.
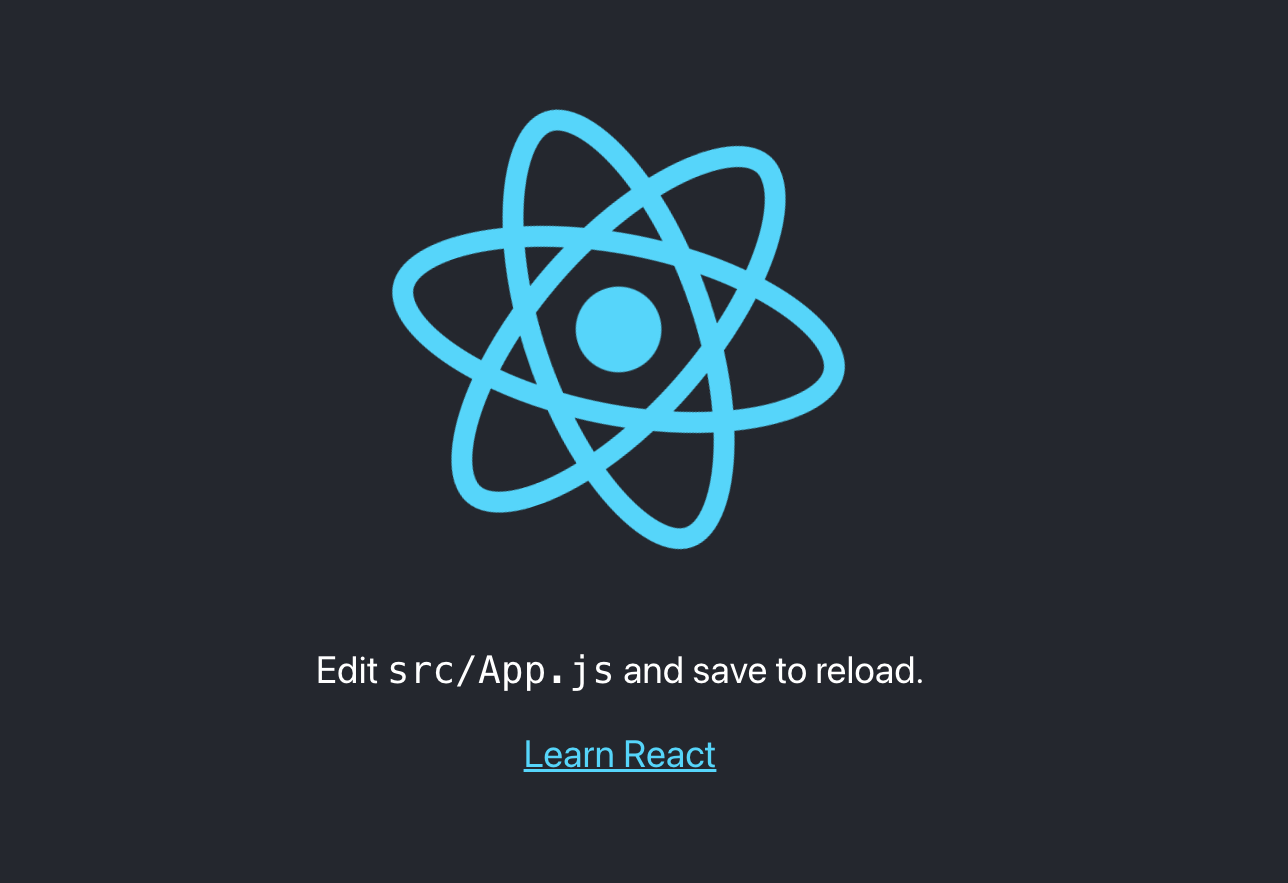
Your application is already set up! You can now visit your IPV4 Address again and you should see the React spinning logo or your own if you followed this using your project.
Congratulations! You have finished the tutorial and have successfully deployed your React application to the web using Nginx. You also have created your own VPS using Digital Ocean’s Droplets.
Thank you for using my guide!
Droplet costs credits to run. If you signed up using my link, you will have $200 credits for 60 days. In case this runs out, it will charge you afterwards. Make sure to destroy your droplet to avoid incurring additional costs. Always be wary of your cloud costs.
Links to tools mentioned
Hello there! I write about software engineering tutorials and concepts. If you like to support me, subscribe to my email list.